How to Deactivate Facebook Account Overview
There are some reasons why you may need to deactivate your Facebook. It is possible to deactivate Facebook at any time.
Therefore you do not need to perform the action at a given time. Many people confuse between Facebook deactivation and Facebook account deletion.
When you deactivate the Facebook account, your profile details remain so that you can activate it at any time.

During account deactivation, you need the following;
- A reliable internet connection
- A laptop or mobile phone
- Your Facebook user name and password
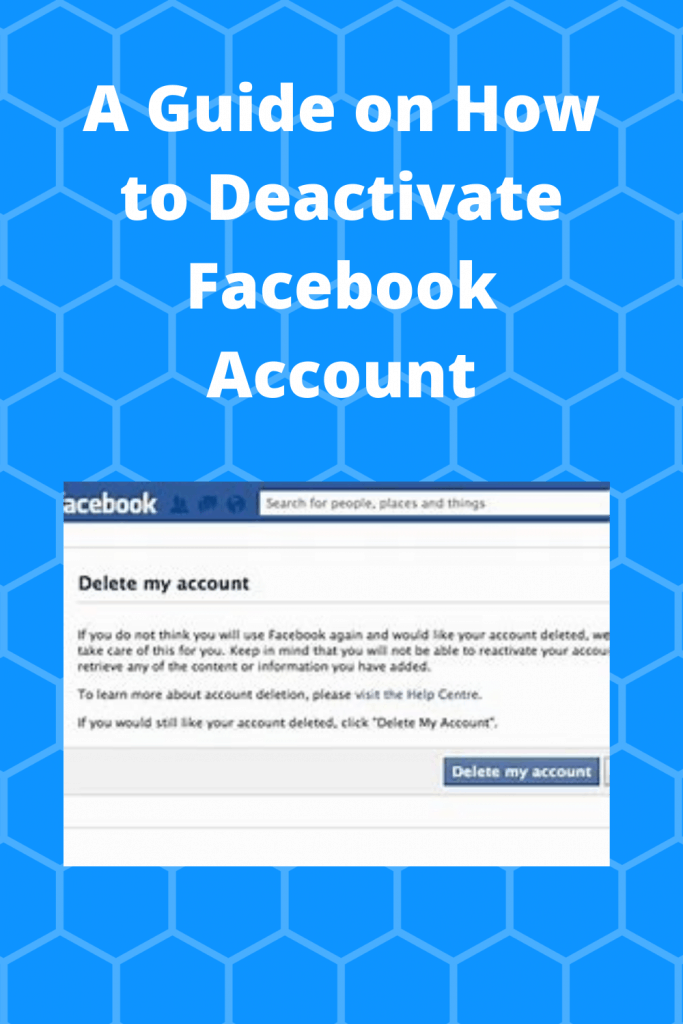
When you delete the Facebook account, the activity cannot get undone. That means if you delete your account, your information will disappear permanently.
When you deactivate the Facebook account, the post that you had commented, liked will be seen on other people’s timelines.
Having known the above-discussed things, below, we have researched for you the best guide on how to deactivate Facebook.
By following those steps, you will be able to deactivate your Facebook account successfully. Some of those steps are;
Step one: click on the “settings” logo
After you log into your Facebook account using the Facebook username and password, you need to click on the settings icon.
If you are using a mobile device or a computer, you need to first click on the menu icon.
On the menu bar, scroll down almost to the last options. You will find an icon labeled setting and click on it.
Step two: select the “your Facebook information” option
After you have clicked on the settings icon, there will be various options.
Some of the options you will be offered in this step are such as “security and login, your Facebook information, privacy, timeline and tagging, and many more.
“In this step, you need to select the “your Facebook information” option. After this step, you need to perform only two other steps.
Just a few steps and you will be able to deactivate your account successfully.
Step three: click on “deactivation and deletion “option
After clicking on the previous step (your Facebook information), you will get various options.
Some of those options are such as “access your information, transfer a copy of your photos or videos, activity log, off-Facebook activity, download your information, managing your information and finally deactivation and deletion. ”
click on the last option “deactivation and deletion.”
Step four: confirm account deactivation
Confirming Facebook account deactivation is the last step, you just need to confirm the activity, and you finish the account deactivation.
In this step, you will get two different options.
Either you need to deactivate the Facebook account or delete the account permanently.
As we said earlier, if you click the option “permanently delete the account,” the process cannot be undone after confirmation.
All your Facebook information will get deleted. Therefore if you need to deactivate the account for a specified period, then you need to select the option for deactivate account.
Deactivate the account option maintains your account so that you can reactivate it later.
During the deactivation period, your profile will be disabled until the time you will reactivate again.
Since your profile information does not get deleted, if you have messenger during the account deactivation period, you can be able to chat with your friends on Facebook.

By considering the above discussed four steps, you will be able to know how to deactivate the Facebook account.
Related Articles
