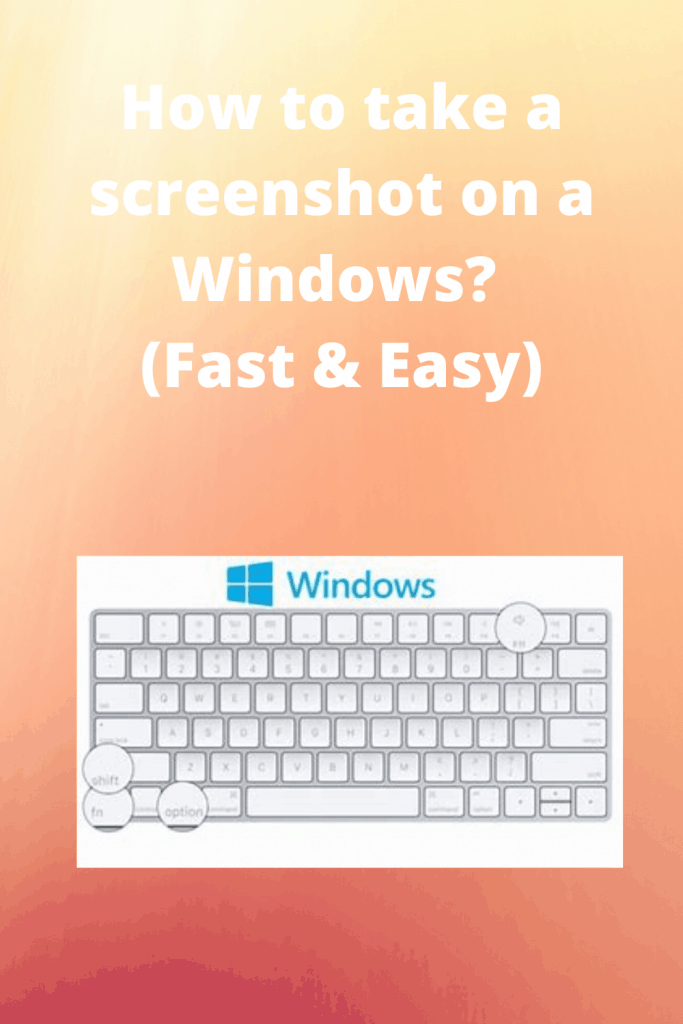
How to take a screenshot on a Mac? Overview
If you are just starting in the world of Apple, using a Mac may seem very different from using a Windows or Linux PC.
One of the primary actions utilizing a PC, of no matter what brand, is capturing what you see exactly on your screen; that’s why I am going to show you, step by step, how to capture the screen on a Mac.
If you don’t want to take a screenshot of the entire screen and then edit it, you can also capture a portion of it, or a whole window or menu.
Capturing the entire screen
- Make sure that everything you need is visible on your screen
- Press and hold these three keys together: Shift, command, and 3.
- If you need to edit the image that you just took, click on the thumbnail that will appear on your screen.

Capturing a part of the screen
- Press and hold these three keys together: Shift, command, and 4.
- A crosshair may appear; put it on the point you want to start your selection.
- Drag the crosshair over the area you want to capture. If you wish to cancel, press the Escape key.
- To move around the entire selection, press and hold the space bar.
- Release your mouse button when you finish.
- To edit your image, click on the thumbnail on the corner
- Upon opening the menu or window required, press and hold these four keys together: Shift, command, 4, and spacebar.
- The pointer will turn into a camera icon
- Click the menu or window.
- If you don’t want to include the shadow on your image, press and hold the Option key before clicking.
- To edit your image, click on the thumbnail on the corner.

Where are your screenshots located?
By default, your screenshots are stored on your desktop.
