How to find your IP address on Mac and Windows
An IP, or Internet Protocol, address is your computer’s personal ID code for network usage.
It allows other computers in the network to find each other easily, and also gives away each computer’s location – which is useful for location-specific Google searches!
Knowing your IP address isn’t required for day-to-day use, but is essential for if you’re setting up in-depth server hosting.

Here is a step-by-step guide on how to find the IP address of your PC and Mac.
Materials or Products required for this job
- A PC or Mac, with usable mouse & keyboard
- A WiFi or Ethernet connection
How to how to find your IP address
PC (Windows Vista/7/8/10):
Step 1: Go to the Control panel. On Windows 10 machines, this can be found by right-clicking the windows start button.
Step 2: Network and Internet -> Network and Sharing Center
Step 3: Go to Manage Network Connections (vista) or Change Adapter Settings (7/8/10)
Step 4: Right-click on either Ethernet or WiFi connection – if you use a cable to access the internet right-click Ethernet, if your computer is wireless, right-click WiFi.
Right-clicking on either of these options should give you a status option, clicking on that will bring up another window. Click on the Details button.
Step 5: Clicking on details will give you an overload of information.
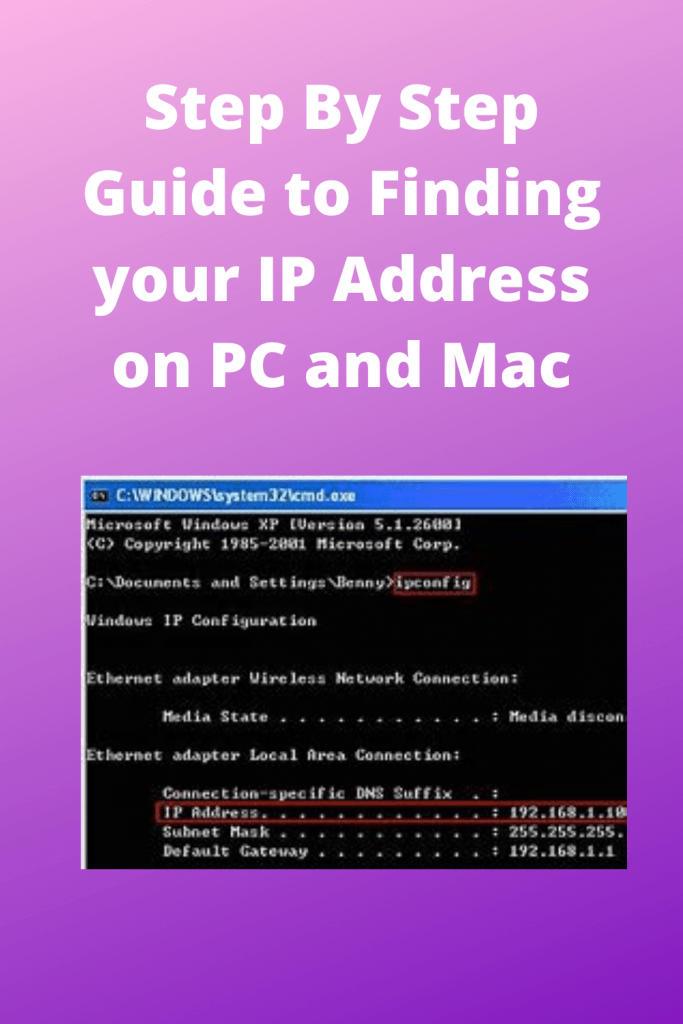
Don’t panic! The number you need will be in this format: “xxx. xxx. x. x” and it’ll be called either IP address or IPv4 Address.
Mac:
Step 1: Click the Apple icon to pull up the menu, from there go to System Preferences -> Network.
Step 2: Choose your Ethernet/WiFi connection from the left-side list. Your IP address, in the same “xxx . xxx . x . x” format, will be displayed to the right, named “IP Address”.

And you’re done! It’s that easy to find your IP on PC or Mac!
